When I made it a lot of people were looking for a tutorial. So two weeks ago when I was on my quilting retreat with the Material Girls, I made the last four shirt apron's. I took some photos and what follows is my tutorial for how I make them.

First start with the shirts you want to turn into Aprons. I only use 100% cotton as I know how it reacts and it is easy to clean. Find some bindings or ribbon that you can use for ties and to bind two seams. Also get any other decoration etc you may want.

Cut the side seams from the bottom of the shirt to the armhole. Cut along the stitching on the edge that is the back of the shirt. You want the stitched and neatened seam to remain along the side of the apron so that you do not have to do anything more to finish that area.

Cut from the bottom of the armhole to the seam on the shoulder. Draw and cut a straight line to the collar.

Once cut it should look like this. Do the other armhole.

Cut the shirt back and yolk off the collar from one side to the other. Again cutting just under all the seaming for the collar so that you do not need to do anything more to finish this area.
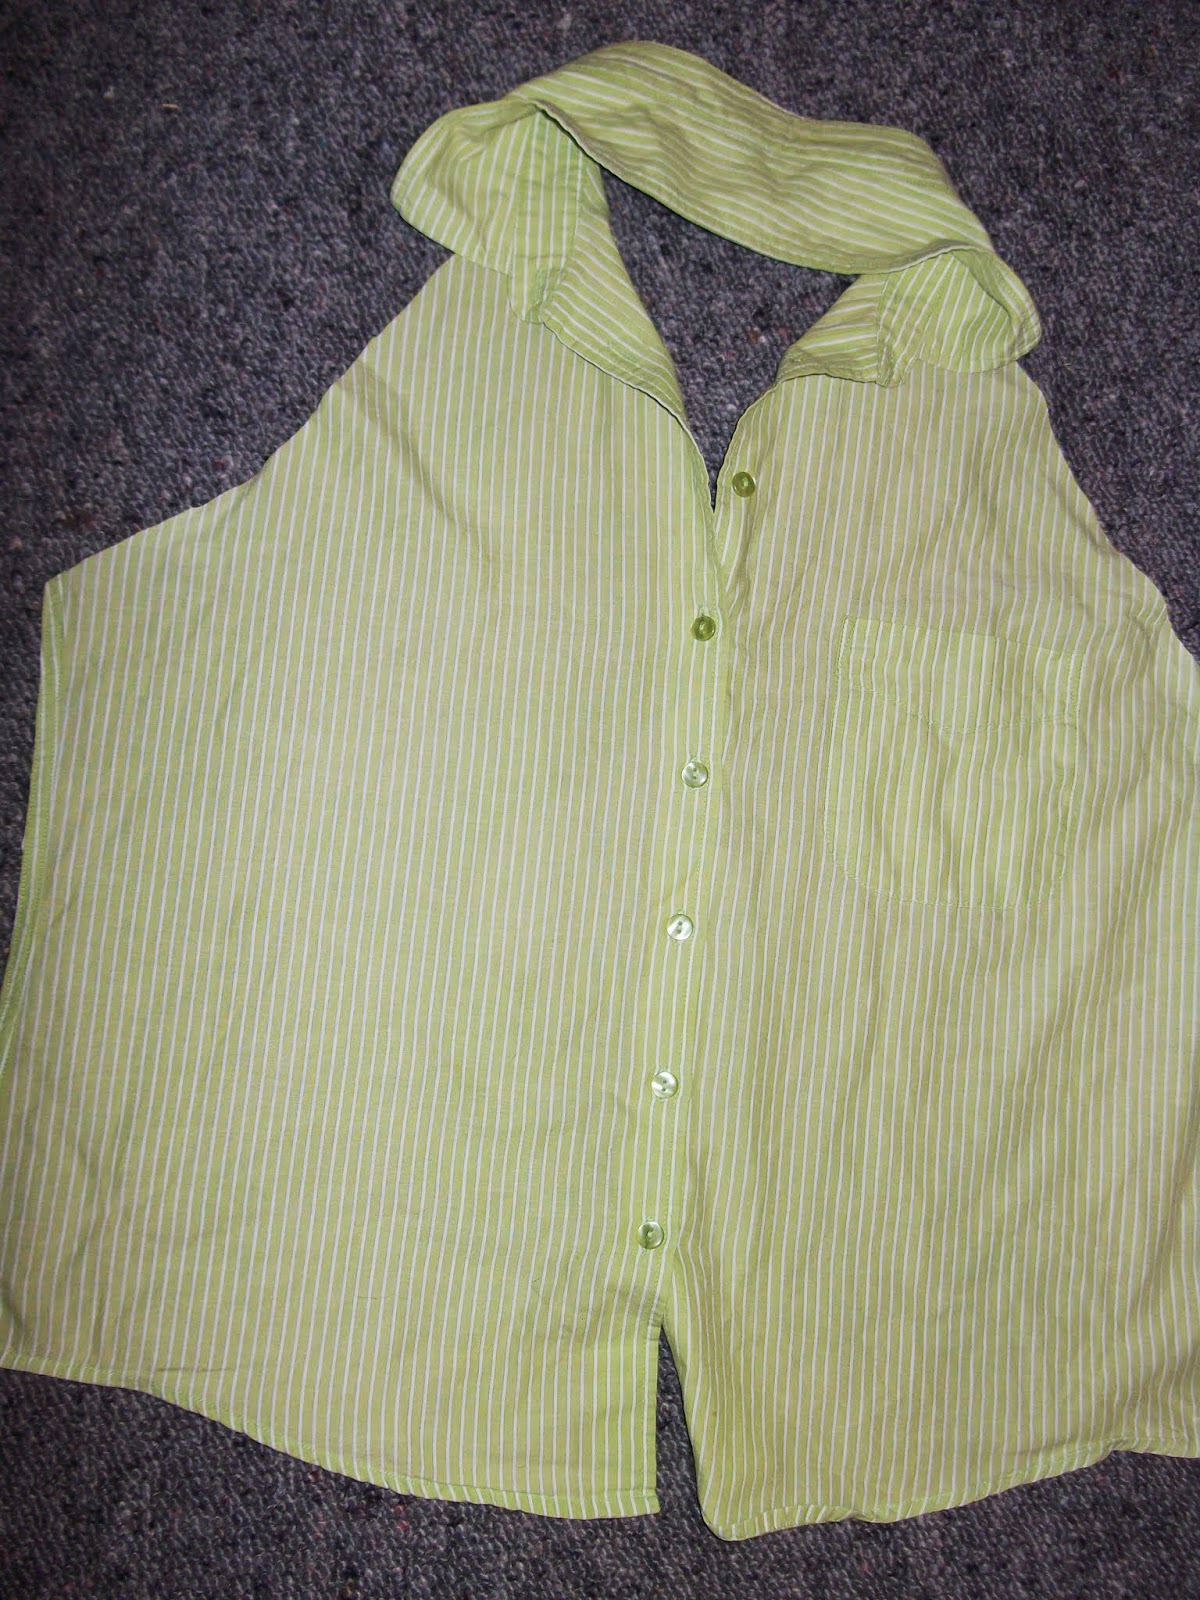
Your shirt should now look like this. If it had an amazing label like Pierre Cardin etc then I remove that from the collar or shirt yolk and restitch it somewhere obvious on the front.

Use the sleeve of the shirt to make a pocket. This is the shape I tend to use. If it is a short sleeved shirt you can use the cuff of the sleeve for the top of the pocket. If not then cut your shape and turn the top down and stitch in place. Add any trims you want and stitch them in place. Fold under the sides and bottom and iron down flat.

Put the pocket onto the left front of the apron and pin in place. Stitch the pocket on - I tend to do a double row as it secures it well and looks smart.

Bind the edge of the shirt where the sleeve was removed. Bind from the collar down to the side seam. You can use Bias binding, or fold under and use ribbon or make some binding from the back of the shirt.

Add ribbon or binding or whatever you have to the side as ties. Make sure they are a good long length for tying around.

et Voila - you posh finished shirt Apron (you can see on this one that I also put ric rac on the breast pocket. But the world is your oyster when it come to embellishing.
Do let me know if you make any. I link to these places.


